
Our seasonal goodies
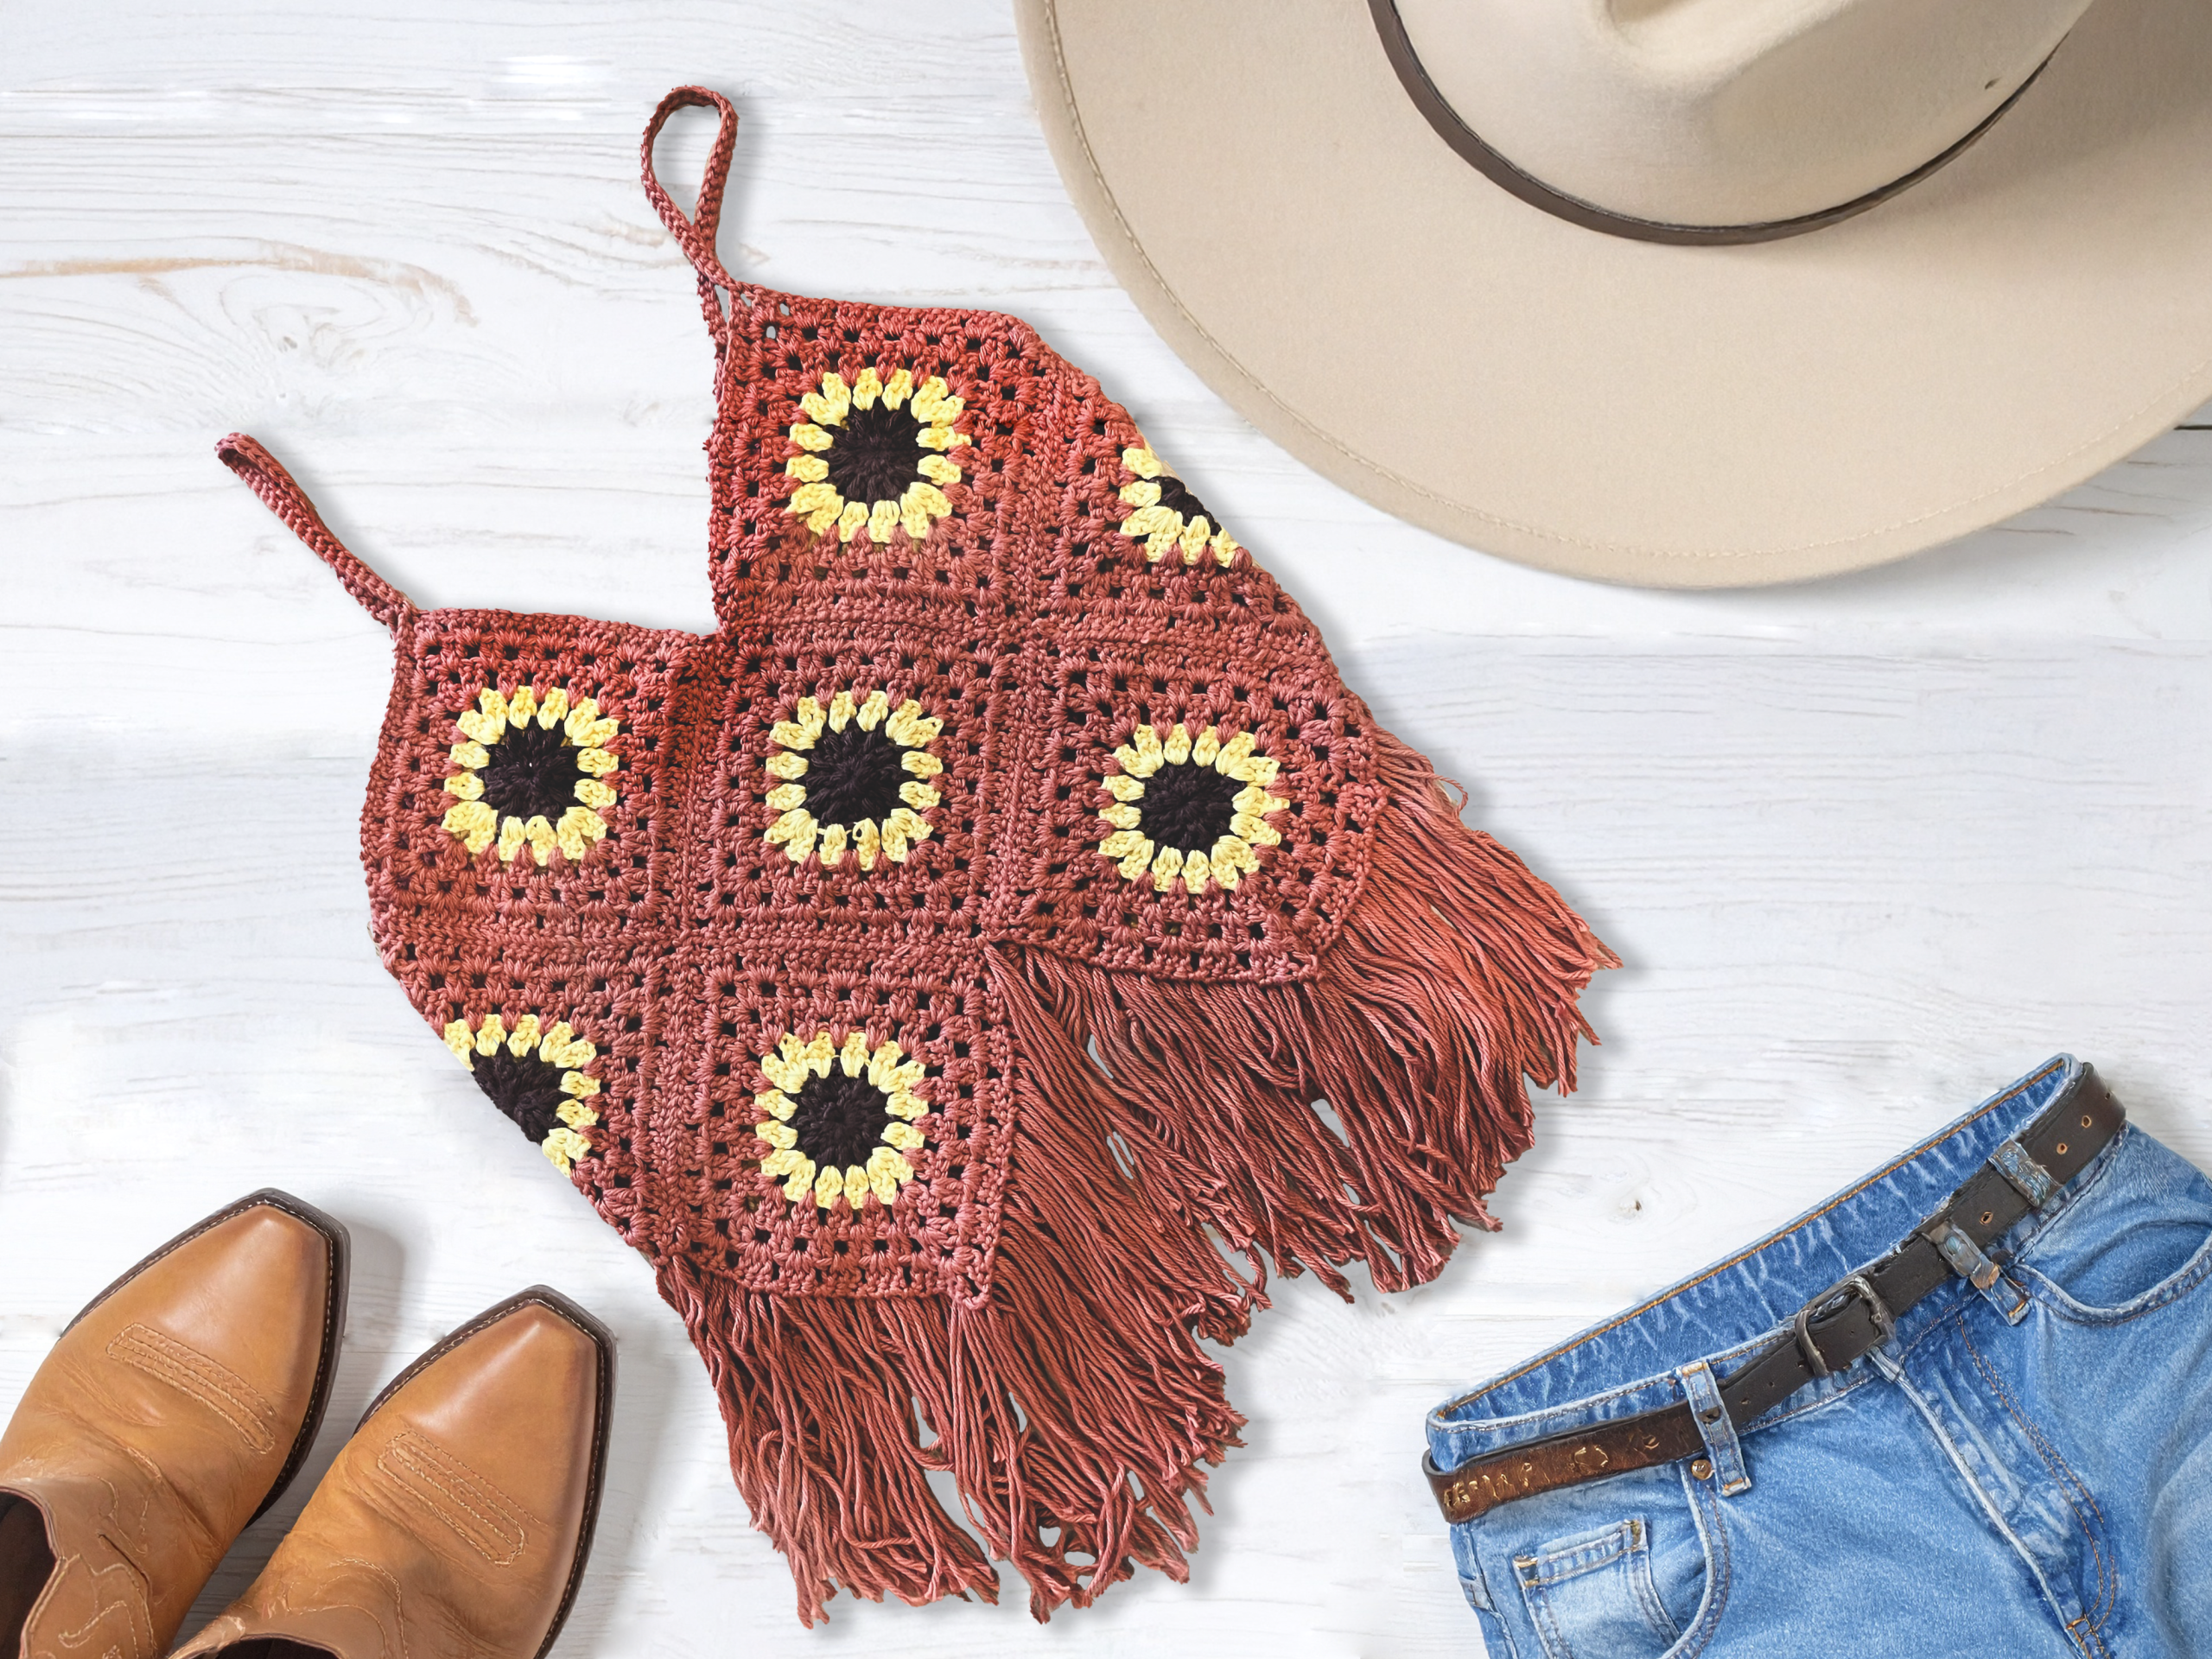
New Arrival: Crochet Sunflower Shirt
Celebrate the season with our newest design. This sunflower shirt is handmade with care and makes one of the perfect crochet gifts for someone special — or a treat for yourself.
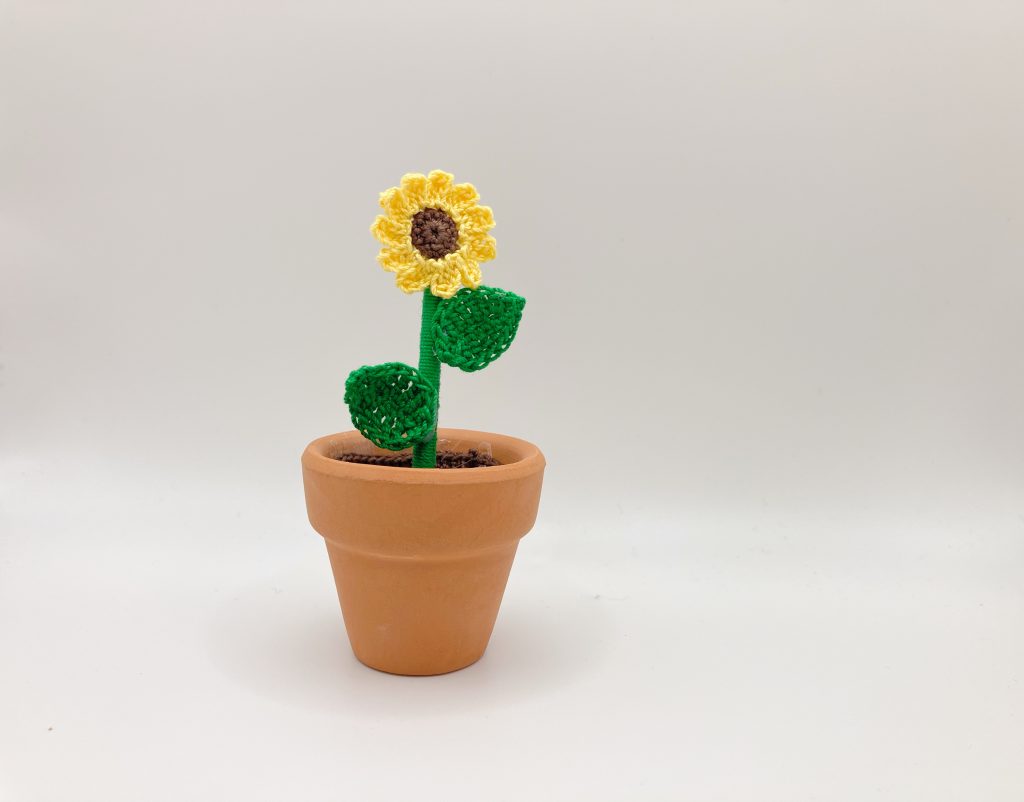
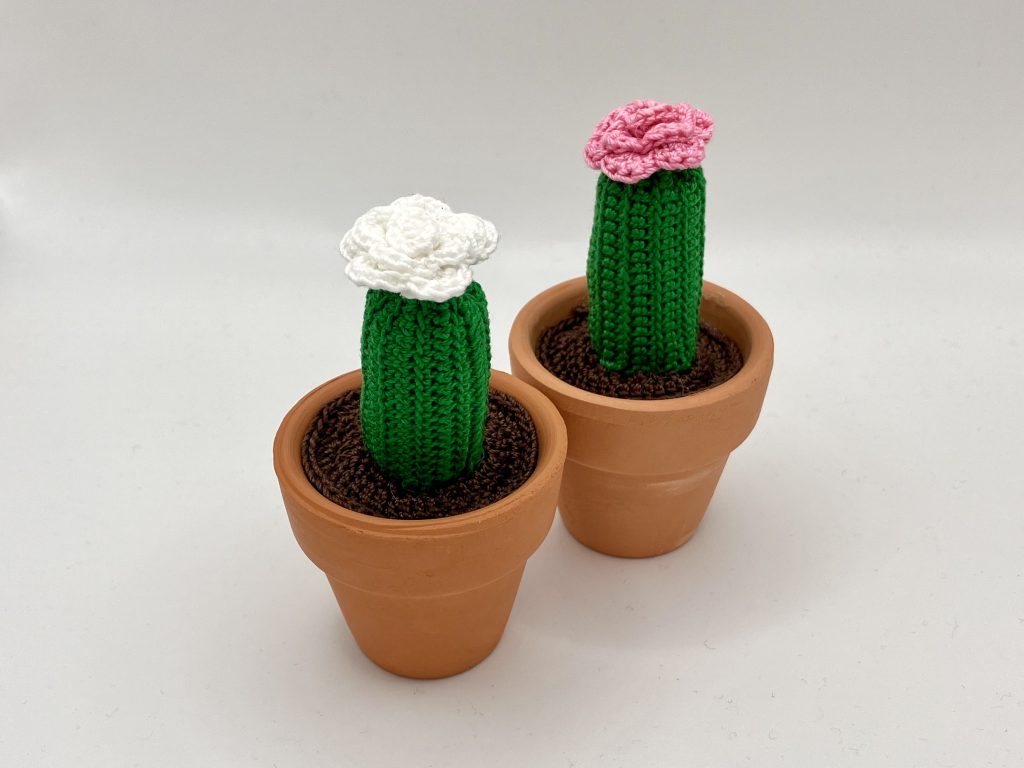
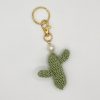
A Plant That Never Dies
Add a touch of green to your space without the watering, sunlight, or stress. These crochet plants make the perfect crochet gifts, forever fresh, forever cheerful.
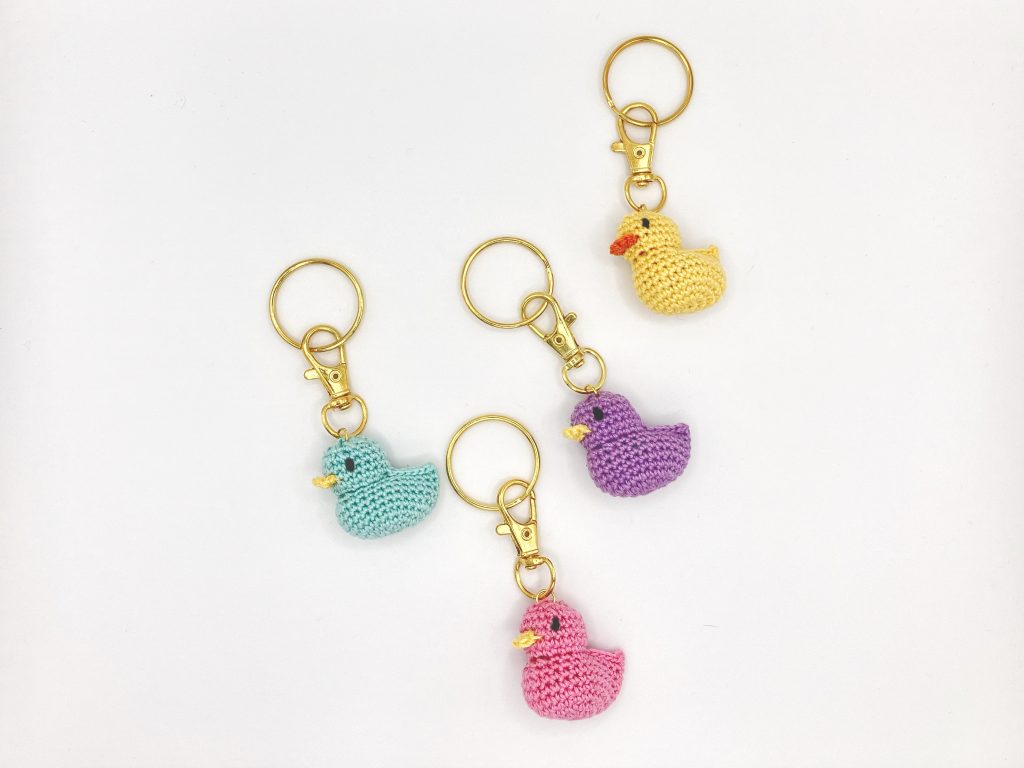
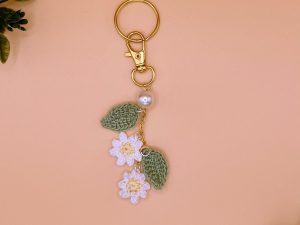
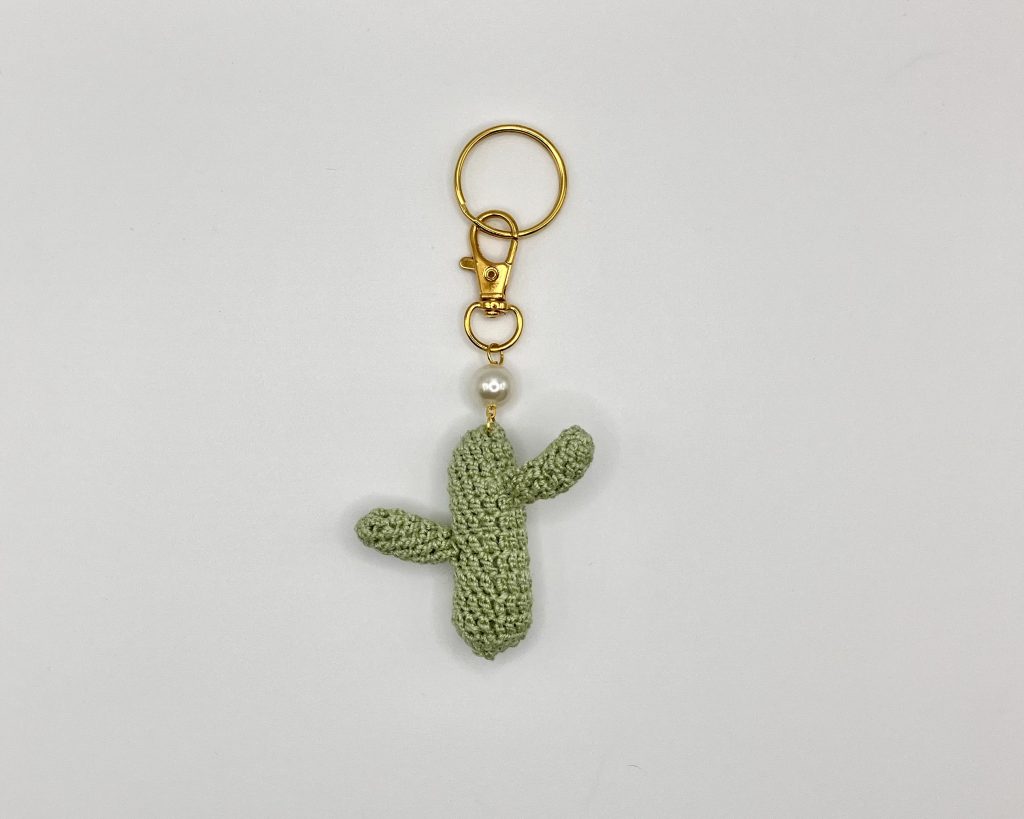
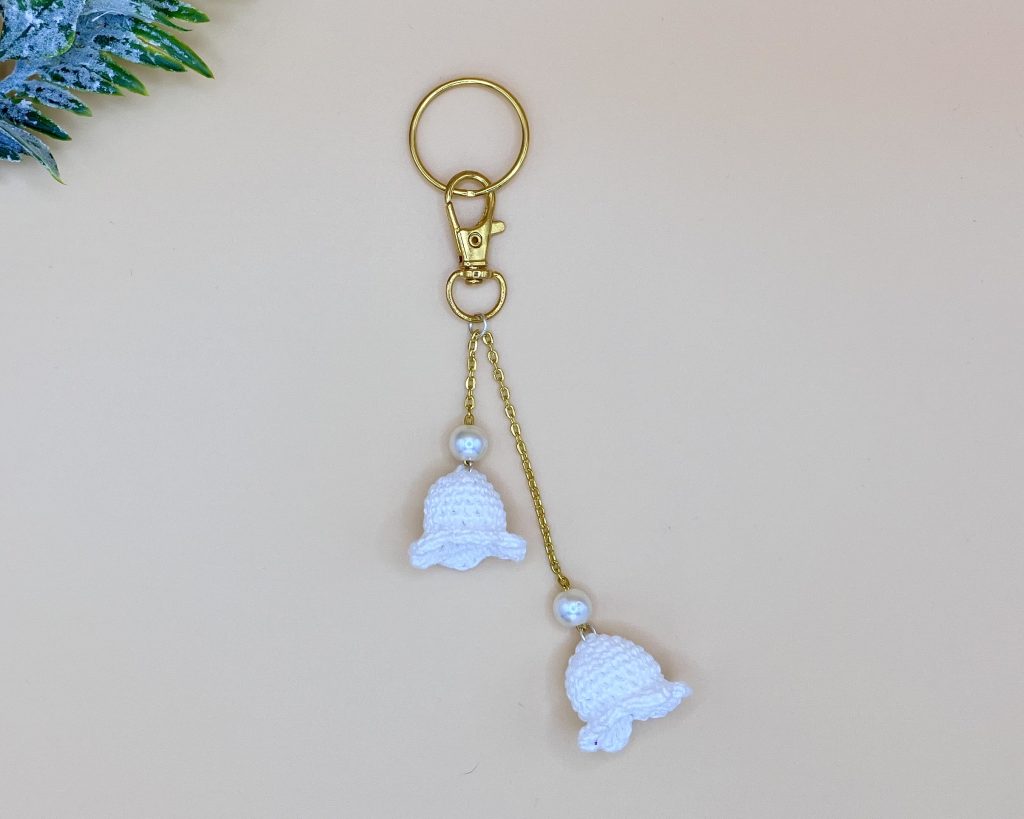
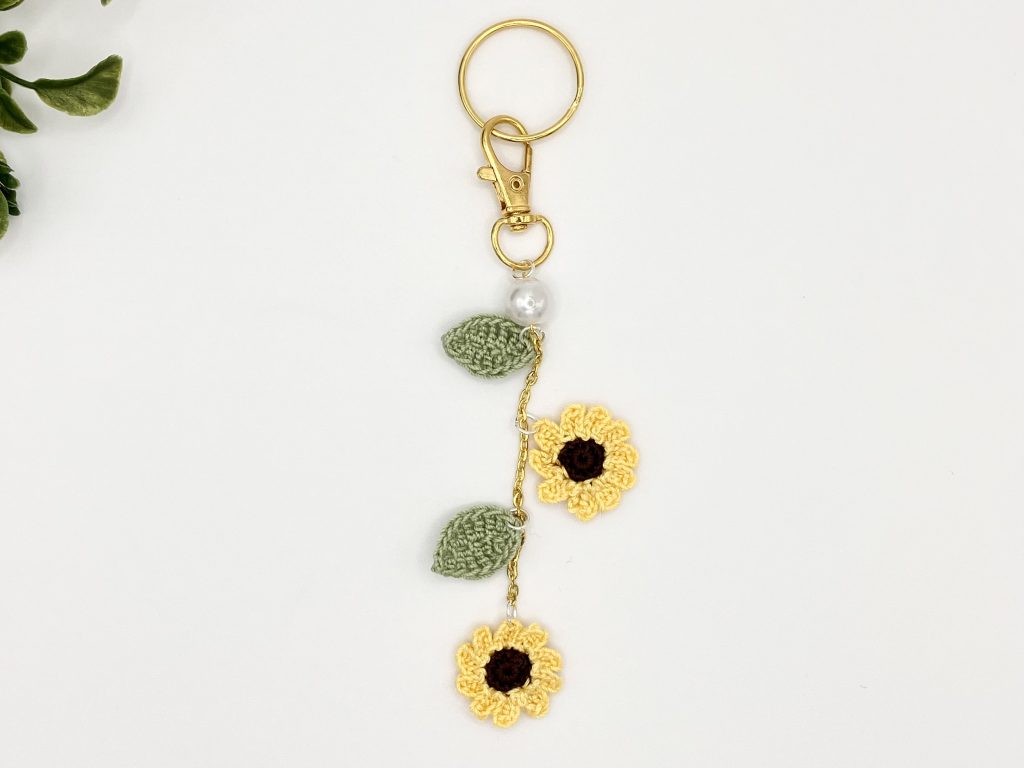
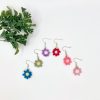
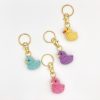
Crochet Keychains
Small, thoughtful, and handmade to brighten your day. Add color to your keys or bag.
Featured Products
Recommended products
-
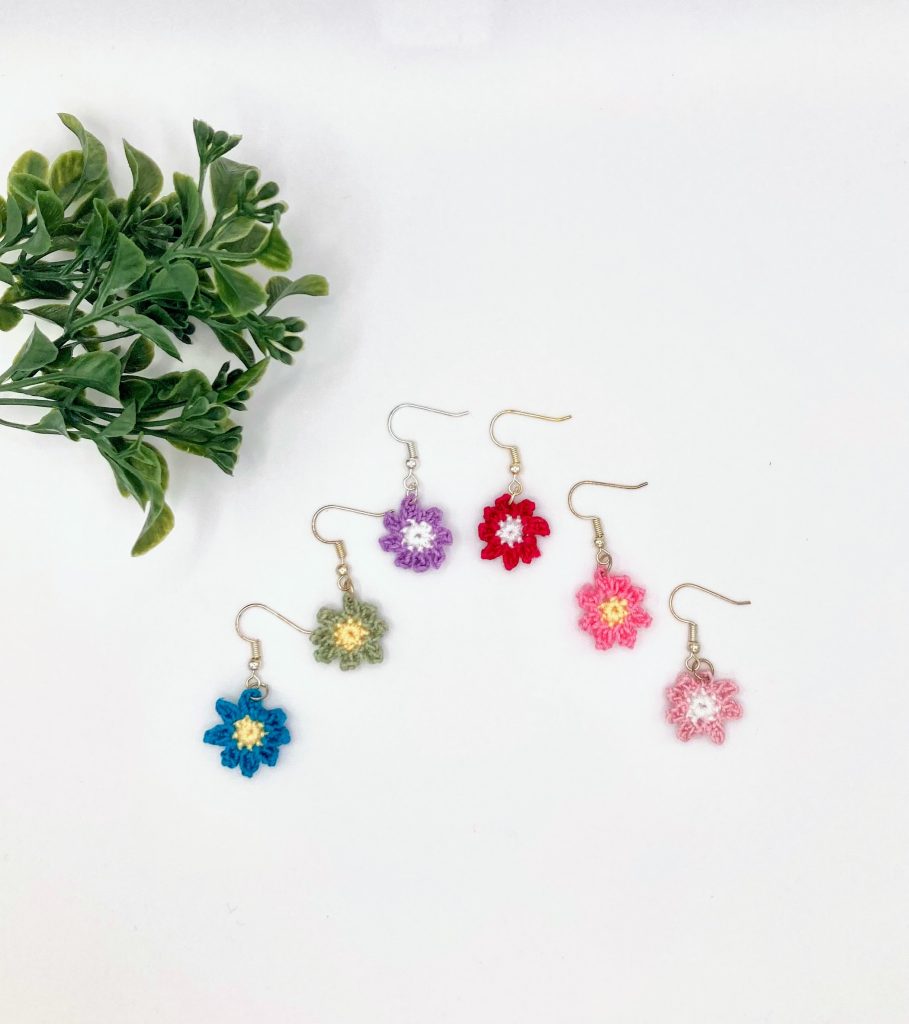
Mini flower Earrings | Micro Crochet | Dainty Earrings
$17.00 -
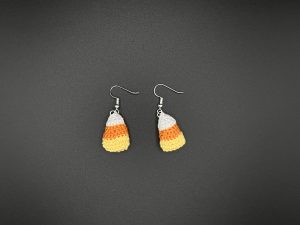
Crochet Candy Corn Earrings
$20.00 -
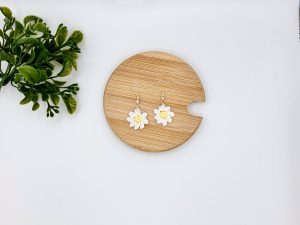
Crochet Daisy Earrings
$17.00 -
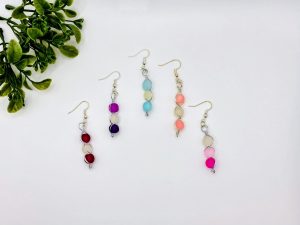
Colorful Beaded Stick Dangle Earrings
$13.99 -
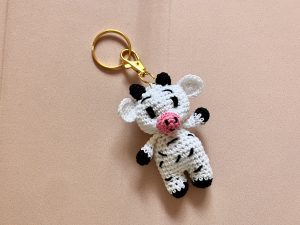
Crochet Cow Keychain – Cute Farm Animal Bag Charm
$20.00 -
Crochet Daisy Bag Charm
$15.00 -
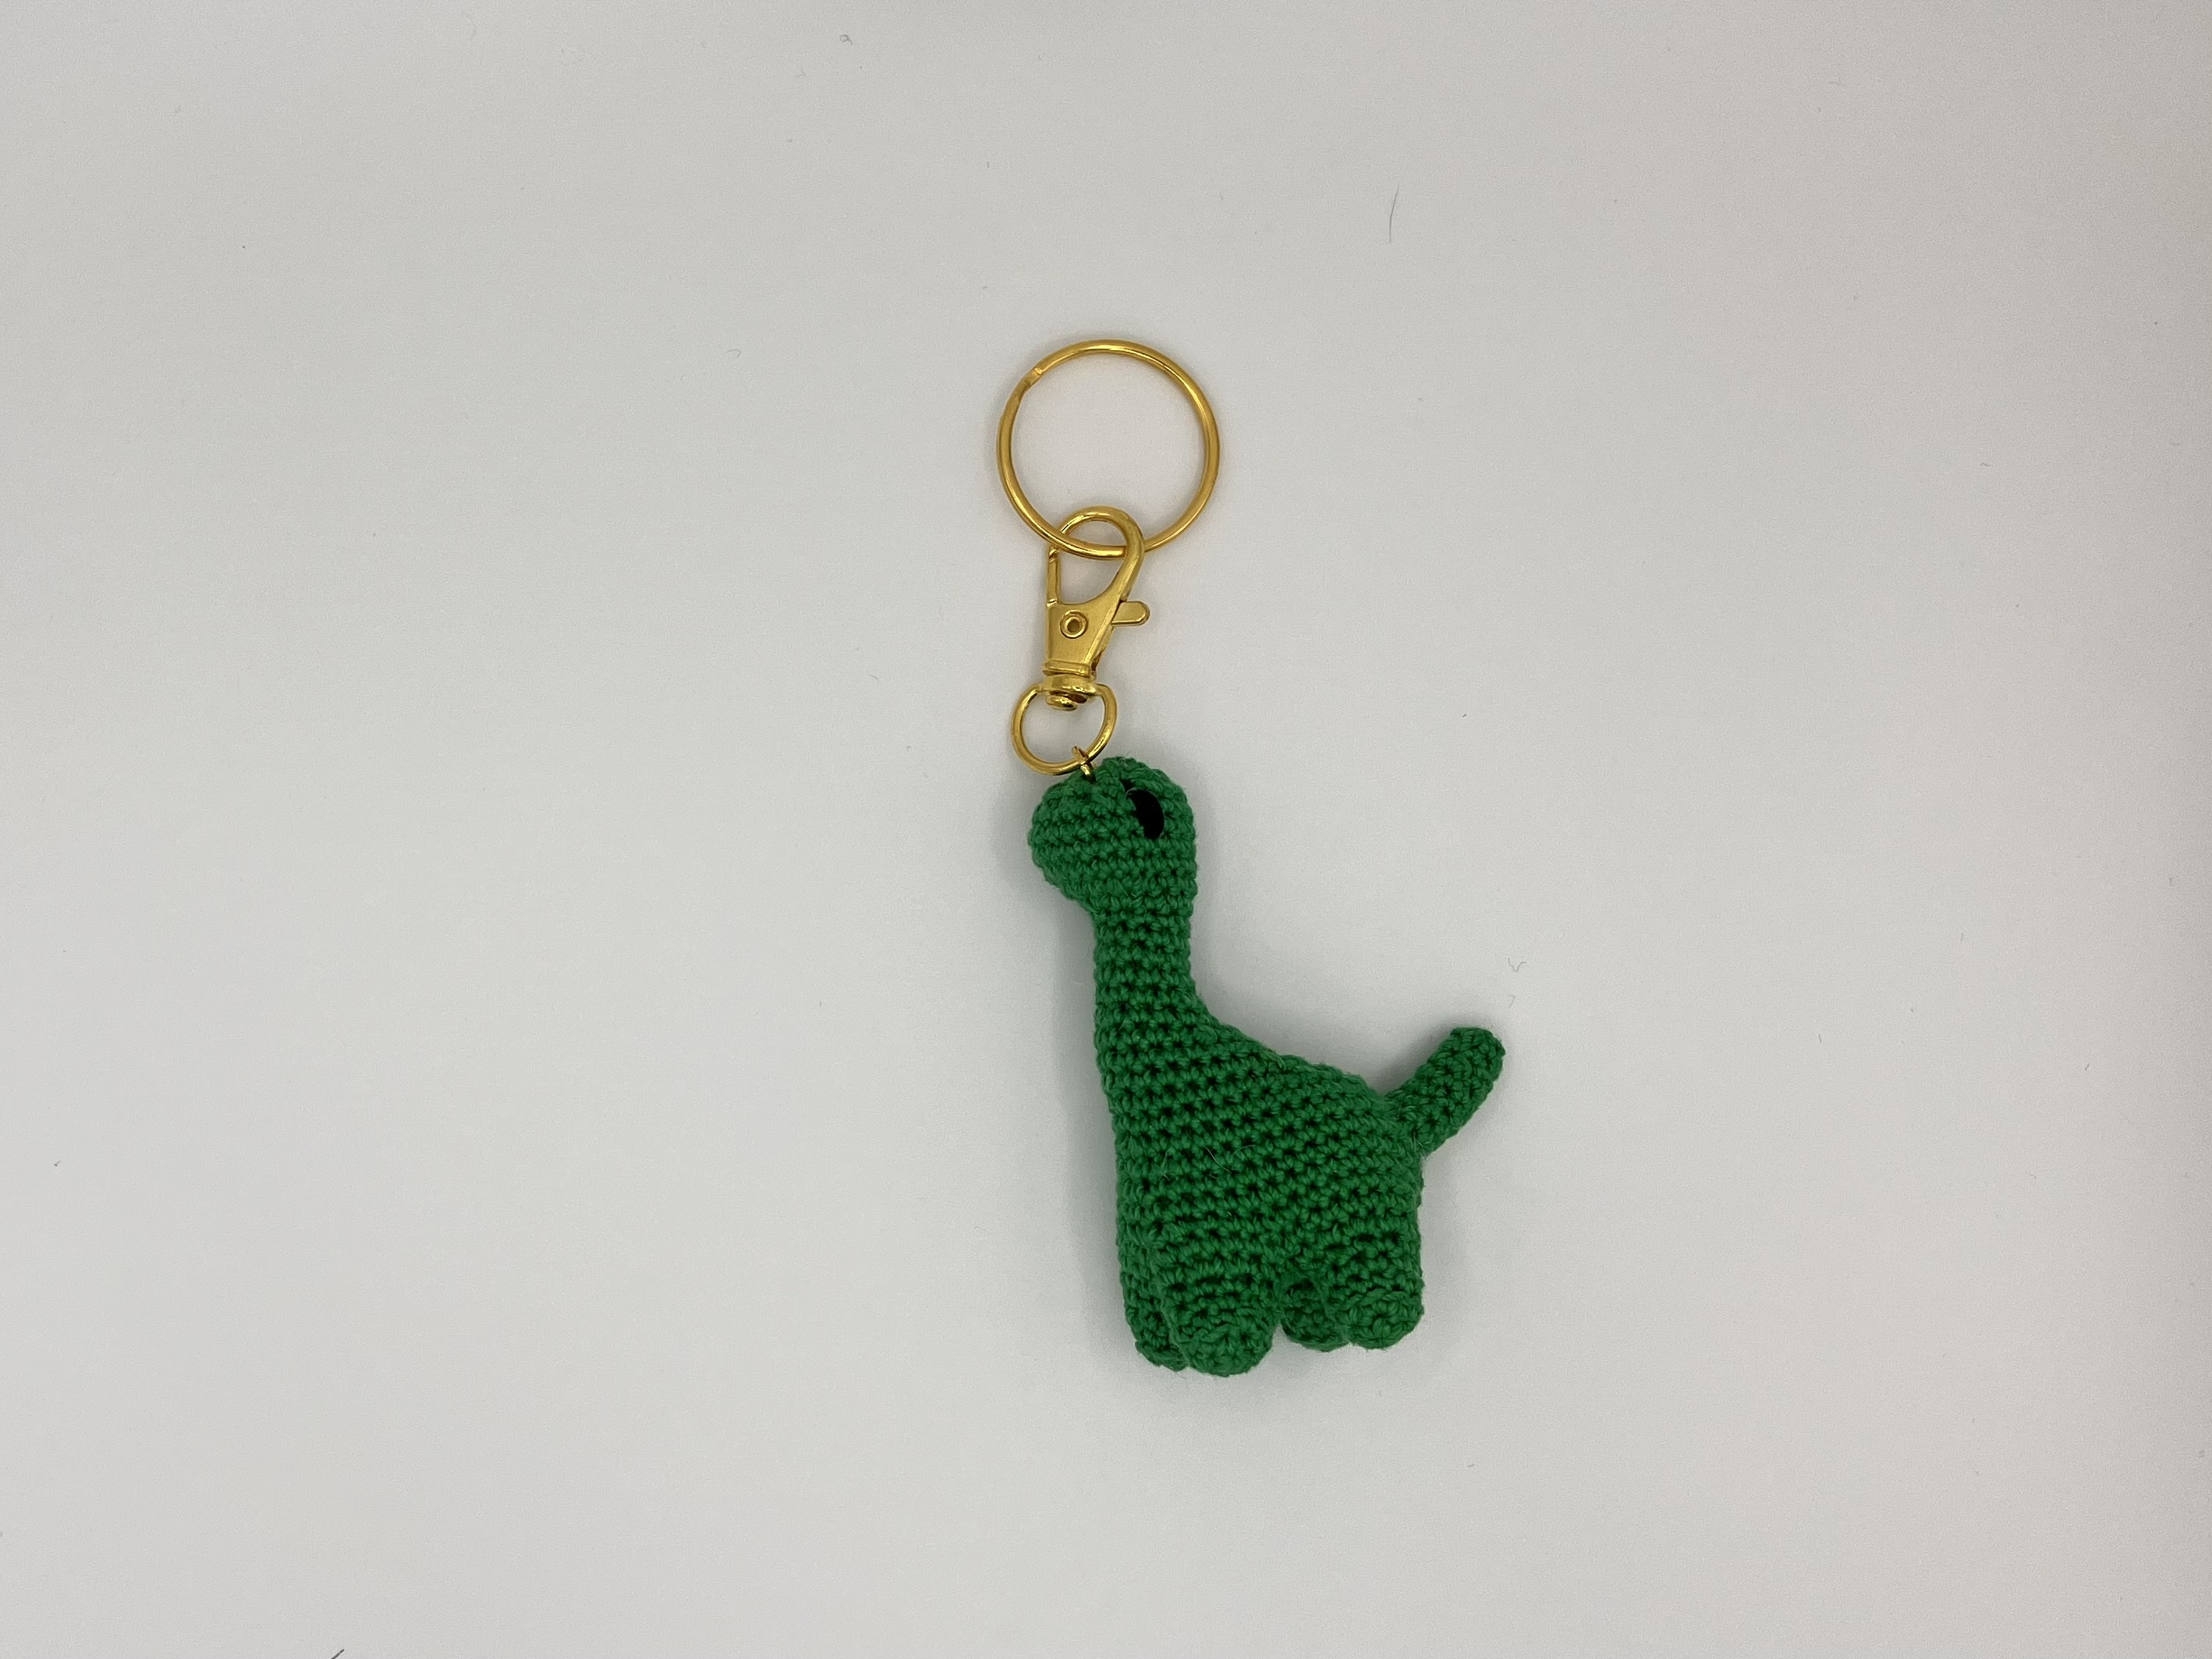
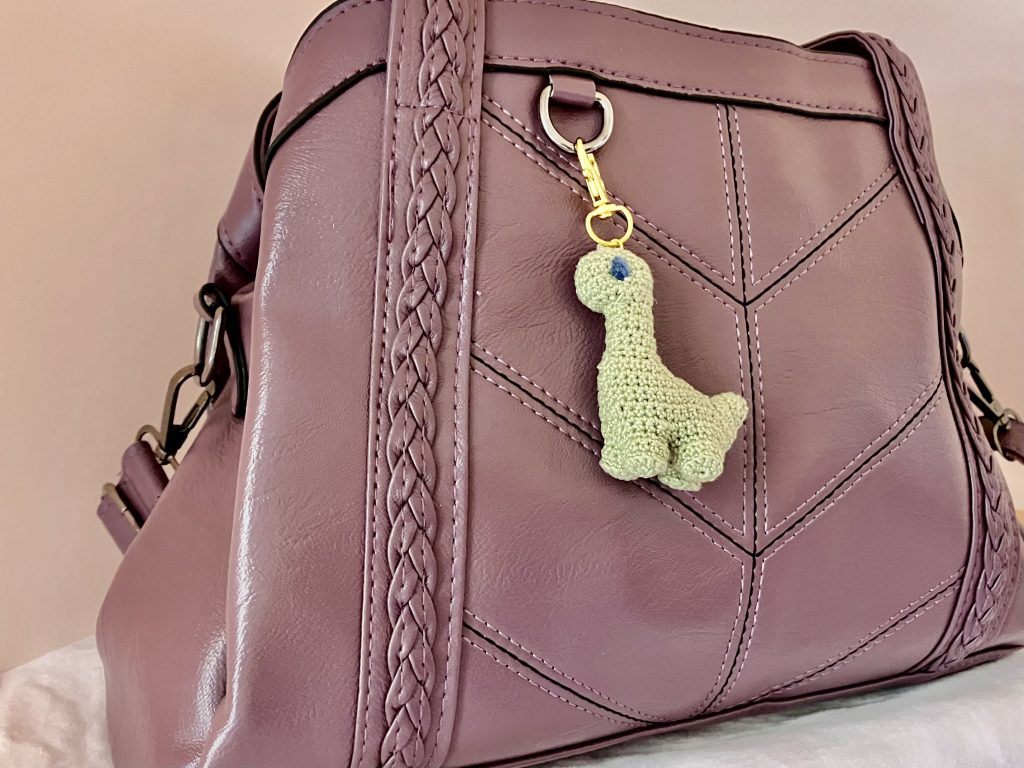
Crochet Dinosaur Keychain | Handmade Mini Dino Accessory
$15.00 -

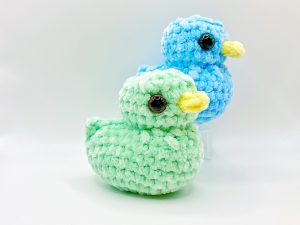
Mini Duck Keychain Charm
$12.00 -
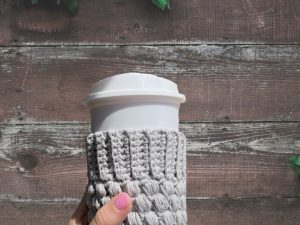
Crochet Cup Cozy – Reusable Coffee & Cold Drink Sleeve
$14.00
Eco-Friendly Decor
Decorate any workspace with class
Captivating Bag Charms
Add a touch of style to your essentials
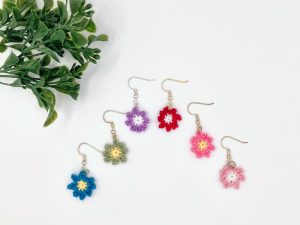
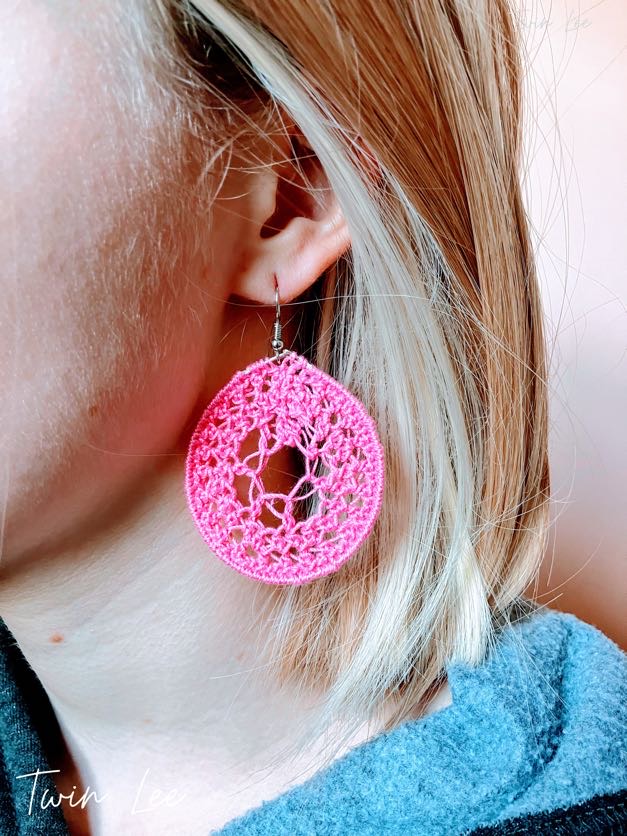
Elegant Earrings
Add a touch of sparkle to your style, or give as a unique crochet gift..
Quality Materials
In short, we use only the highest-quality materials in our products, certainly ensuring that they look great and last for years to come.
Unique Design
From bold color to intricate details, indeed our products are a perfect combination of style and craftsmanship.
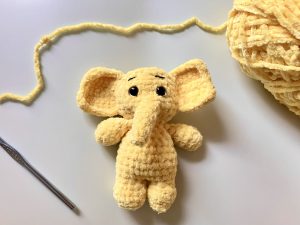
Plenty of Plushies
To keep you company.
What Customers Say
Nice item. Thanks for offering it.
Bought these for a friend and she loved them.
Great quality and fast shipping- thanks!
Meet Us
We’re two sisters who love creating handmade crochet pieces that bring a little joy to everyday life. From playful keychains to cozy accessories, every item is designed with care and a touch of fun — perfect for gifting or keeping for yourself.
Stay in the loop!
Subscribe to our list and stay in the loop with the latest updates—whether it’s new patterns, product launches, or blog posts!